You don’t need a trunk full of gear or a permanent address to stay strong. If your life is more airport gates than garage gyms, more sleeper trains than spin classes, dialed-in portable equipment can turn layovers, guesthouses, and trailheads into your personal training ground. This isn’t about “making do” on the road—it’s about building a kit that makes you more adventure-ready than most people with full-time gym memberships.
Welcome to the travel-friendly, pack-light, move-anywhere approach to strength and conditioning.
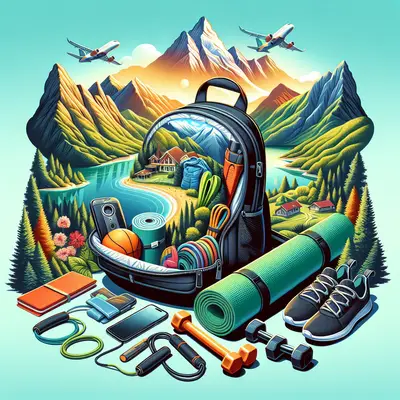
Building a Portable Power Kit That Actually Travels Well
The best portable equipment lives at the intersection of three things: it’s light, it’s compact, and it gives you multiple ways to move. If a piece of gear can’t survive a rough bus ride, a cramped hostel locker, or being jammed under an airplane seat, it doesn’t belong in your bag.
Think about your carry system first. A small, rugged packing cube or compression sack keeps gear together and easy to grab. From there, prioritize multi-use tools: gear that lets you pull, push, hinge, squat, and rotate. That way you’re building a mini “movement lab,” not just carrying toys.
Weight matters more than you think. Every extra pound is something you’ll feel sprinting up subway stairs or hiking between guesthouses. Pick gear that packs flat, coils tight, or folds down—nothing rigid, nothing fragile, nothing that needs electricity. Your kit should be bombproof, simple, and ready to use within 60 seconds of dropping your backpack on the floor.
Core Travel Gear: Small Tools, Big Payoff
If you’re starting from zero, you don’t need a full catalog of gadgets. A lean, focused setup can cover a surprising range of strength and conditioning:
- Long resistance band (loop or tube): Light, cheap, and incredibly versatile. Use it for rows, presses, pull-apart work, hip work, and even assisted pull-ups if you find a bar or sturdy beam. One medium to heavy band will do more for you than almost any other single item.
- Mini loop bands: These live in your pocket but wake up your hips and shoulders. They’re perfect for glute activation, lateral walks, monster walks, and shoulder warmups before a long hike or climbing session.
- Lightweight suspension trainer or DIY alternative: A compact suspension trainer (that anchors in a door or over a beam) lets you do rows, push-ups at different angles, split squats, and core work in almost any room. If you’re on a tight budget, a sturdy set of straps or heavy-duty climbing slings can serve as a minimalist version—just be smart and secure.
- Jump rope: This is your portable engine builder. A simple speed rope turns a parking lot, rooftop, or quiet side street into a conditioning session. It coils small, weighs almost nothing, and can replace a treadmill when you’re nowhere near a gym.
- Travel-friendly mobility tools: A lacrosse ball or small massage ball weighs little but works wonders on tight calves, hips, and upper back after flights and bus rides. A thin, foldable travel mat or towel handles floor work if you’re squeamish about hotel carpets.
From there, you can add optional upgrades like a lightweight hip belt for loaded carries, a compact ab wheel, or even a foldable pull-up bar if you’ll be in one spot for a while. But the essentials above cover most needs for strength, conditioning, and recovery on the move.
Five Fitness Tips for Travelers and Digital Nomads
Staying fit when you live out of a bag is more about strategy than willpower. These five tips keep you strong no matter what your itinerary looks like.
1. Treat Every Destination Like a New Training Playground
Instead of hunting for “the perfect gym,” scan your surroundings like a movement scout. Stairwells become interval tracks. Park benches double as step-up platforms and push-up stations. Trees, playgrounds, and public fitness stations provide anchors for bands and suspension trainers.
Scout on arrival: is there a quiet alley, a corner of a rooftop, a park within a 10-minute walk? Pin it on your map app as your temporary “training zone.” This mindset keeps you flexible when the city is chaotic, the weather turns, or your plans shift overnight.
2. Anchor Your Day With a Non-Negotiable Micro-Session
Instead of aiming for one big workout that requires the “right moment,” build a 10–15 minute non-negotiable session into your day—morning, pre-lunch, or sunset. The goal is consistency, not destruction.
A simple template with portable gear:
- 3 rounds:
- 10–15 band rows
- 10–15 push-ups (hands on bed/bench if needed)
- 10 band-resisted squats or split squats each side
- 20–30 seconds of jump rope
This fits between calls, before checkout, or after a long bus ride. If the day explodes and you get nothing else in, you still moved your body, hit your major muscles, and preserved strength.
3. Use Your Luggage as Load, Not Just Storage
The heaviest object you travel with is usually your backpack or suitcase—use it. As long as it’s sturdy and well-zipped, it can become a surprisingly effective training tool.
Ideas:
- Suitcase deadlifts or Romanian deadlifts: Hinge at the hips, keep your back flat, and lift the suitcase as if it were a kettlebell.
- Backpack front-loaded squats or lunges: Hug your pack to your chest or wear it on your back to add resistance.
- Suitcase rows: Hinge at the hips and row the bag toward your hip to hit your upper back.
You can adjust load by adding or removing items. Heavy book? Water bottles? Laptop? They all become part of the “weight stack.” This keeps you training even if your only equipment is what you’re living out of.
4. Rotate Focus Based on Your Travel Schedule
Long travel days, time zone jumps, and late-night work sprints can wreck your recovery. Instead of forcing the same session every day, rotate your focus to match your bandwidth and environment.
For example:
- High-energy, settled days: Full-body strength with bands and suspension trainer, plus some jump rope or stair intervals.
- Medium-energy, busy work days: Bodyweight and band circuits in your room—short and dense, 15–25 minutes.
- Low-energy, heavy travel days: Walks, mobility work, and light band activation for hips and shoulders. Focus on feeling better, not getting “destroyed.”
This keeps you progressing without burning out or quitting because you can’t hit some idealized plan.
5. Make Mobility and Recovery Part of the Adventure
Sitting on buses, flights, and trains while hunched over a laptop is brutal on your hips, lower back, and neck. The fix doesn’t have to be boring. Think of mobility and recovery as “tuning up your adventure machine” rather than rehab homework.
Use your travel tools:
- Roll your feet, glutes, and upper back with a small massage ball while you answer emails.
- Run mini-band work (glute bridges, clamshells, lateral walks) as a pre-exploration warmup before long walking days.
- Do a 5–10 minute nightly reset—hip flexor stretches, hamstring stretches, and some thoracic spine rotations—before bed.
Your reward: fewer aches stealing your focus and more energy for the good stuff—sunrise hikes, surprise city walks, and last-minute weekend side missions.
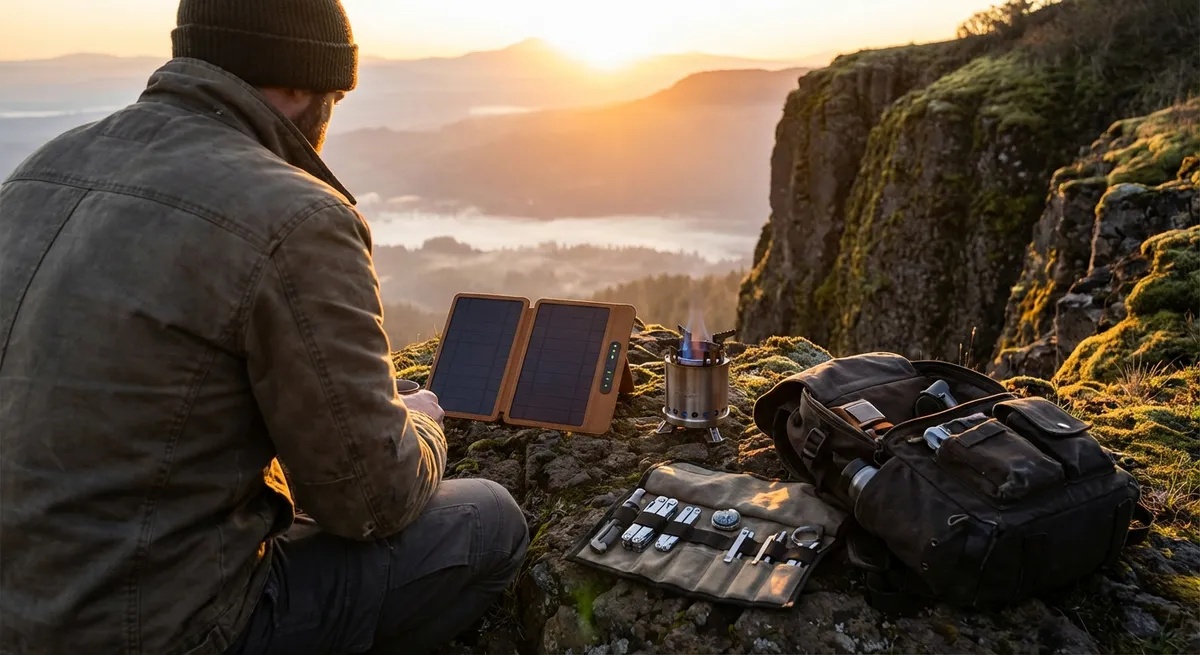
Making Your Kit Work in Real-World Scenarios
A great gear list means nothing if it falls apart in real travel conditions. Think through where and how you’ll actually use your kit.
In a shared hostel? Go for quiet, compact moves: band rows anchored under your feet, mini-band work, slow push-ups, and isometric holds instead of high-impact jump rope at 6 a.m. In a small hotel room? Use door anchors (carefully secured) for band presses and rows, and hit split squats and core work in the narrow walking space. Camping or trekking? Strap your suspension trainer to a tree, do band work with a view, and use your pack for loaded squats and carries.
Always have a “no excuses” fallback: a bodyweight-only circuit that needs zero gear and almost no space—think squats, lunges, push-ups, planks, and burpees. That way, even if your bag goes missing or your gear gets left in a locker, your training doesn’t disappear with it.
Conclusion
You don’t need a fixed gym, a city you call home, or a suitcase full of iron to stay strong on the road. A smart, minimalist kit—bands, a jump rope, maybe a suspension trainer and a mobility tool or two—turns every new stop into an opportunity to build a more capable, more resilient body.
Pack light. Train smart. Treat each destination as a fresh training ground. The stronger you stay, the more confidently you can say yes to the detours, side missions, and “you in?” invites that make a nomad life worth living.
Sources
- [American Council on Exercise – Resistance Band Training 101](https://www.acefitness.org/resources/everyone/blog/7742/resistance-band-workout-ideas-and-benefits/) - Overview of benefits and exercise ideas for resistance band training
- [Harvard Health – Why Strength Training Matters](https://www.health.harvard.edu/staying-healthy/the-importance-of-strength-training) - Explains health and performance benefits of regular strength work
- [Mayo Clinic – Fitness: Tips for Staying Active While Traveling](https://www.mayoclinic.org/healthy-lifestyle/fitness/in-depth/fitness/art-20048269) - Practical guidance for maintaining exercise habits on the road
- [NHS (UK) – Physical Activity Guidelines for Adults](https://www.nhs.uk/live-well/exercise/) - Evidence-based recommendations on weekly activity and strength training
- [Cleveland Clinic – Stretching and Flexibility](https://health.clevelandclinic.org/best-time-to-stretch/) - Details on why mobility and stretching support performance and recovery
Key Takeaway
The most important thing to remember from this article is that this information can change how you think about Portable Equipment.